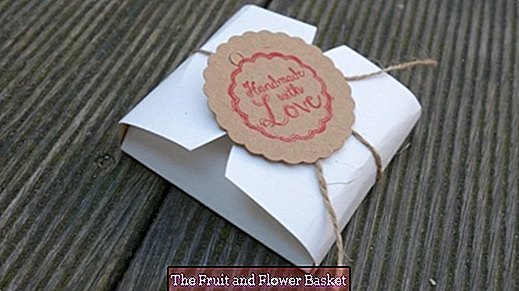
Make a box of paper
Wrapped biscuits are great for decorating weddings and birthday parties or as a little thank you when returning a borrowed book.
The biscuit box is very easy to make yourself. Print the original (picture 2), transfer it to the desired paper and cut it out along the outer contours. Then place the biscuit in the middle and put two opposite sides over the biscuit first and then fold in the other two sides but do not fold (picture 3).
If the biscuit is very fatty, it is worth putting bread or baking paper under it. This prevents unsightly grease stains on the package. Tie the package with a gift ribbon or ribbon (Picture 4). It is especially nice when you get round gift tags from the craft shop and sticks them over the knot (picture 5 + 6). These tags can be labeled, stamped or stuck with a sticker.
If you want the package to be larger, you can also enlarge the inner base size and then draw in the pages starting from the inner square and draw the rounded ends with a compass. It is important that then the side parts are extended accordingly, so that the tabs fit over the biscuit. I have a square base with 7,2 cm side length. There are three side parts 4.5 cm and one 5 cm long.
This is needed:
- Paper (about 190 g / m2)
- scissors
- Packing tape or gift ribbon
- Round gift tags
- stamp
- craft glue
- Baking or bread paper
- Cookies


