A self-made headband
The icy times now seem to be almost over, and thus the? - but next winter is definitely coming! Since I am an absolute "cap muffle"? But I still do not want to freeze my ears in the cold season, I knitted this very individual headband years ago.
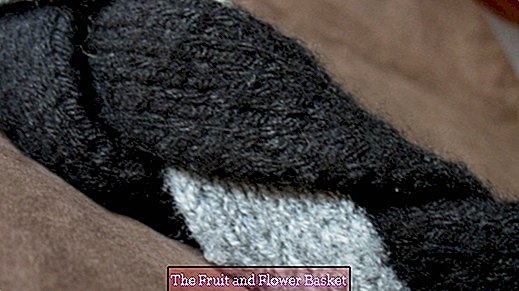
I consumed a total of about 100 g medium wool yarn in two different colors. Of course, you can also use three colors depending on your preference.
I had about 35 g of gray and 65 g of medium weight black wool. From this I knitted three tubes of the same length, each about 3 cm wide. The length depends on the head circumference. From this I braided a braid and sewn the ends together. With this headband I have been able to get through every winter weather so far.
If someone wants to knit something like this, here's the one Strickanleitung:
First knit a stitch sample from the right stitches to determine the required number of stitches for the desired width of a hose. These are z. B. 20 stitches and you knit several rows of smooth right. Then count the number of stitches needed for the desired width of a hose (eg 3 cm = 6 stitches). This number of stitches is then doubled, since the tube is double knit, and in addition there are 2 edge stitches. So 2 x 6 stitches + 2 edge stitches = 14 stitches must be taken for a hose.
Here is the knitting font:
R1 / R2 = Edge mesh
V = a right-hand stitch
_ = Take off 1 stitch as if to knit left, leaving the thread in front of the stitch
R1 _ V _ V _ V _ V _ V _ V R2 2nd row (back row) left to right
(the 1st edge mesh [R1] knit right and the last one
edge stitch [R2] take off)
R2 V _ V _ V _ V _ V _ V _ R1 1st row (back row) from right to left
(the 1st edge mesh [R1] knit right and the last one
edge stitch [R2] take off)
In this example, 14 stitches are first taken.
In the 1st row (back row) knit the 1st stitch (edge stitch R1) on the right, the 2nd stitch is lifted off to the left, leaving the thread in front of the lifted stitch, not on the knitting needle. This is then repeated until the last stitch (edge stitch R2), which is then lifted off.
Then you turn the knitting and knit the 2nd row (back row) Similarly, by knitting the edge stitch (R1) to the right and the 2nd stitch in the 1st row on the right is lifted off to the left as shown. This is then also repeated until the last stitch (edge stitch R2), which is lifted off.
The 1st and 2nd row are then repeated until the length of the tube required for the circumference of the head is reached. Then you chain off the stitches.
In this way, two more tubes are knitted in the same length, which are then braided into a braid and sewn together accordingly.
I hope that my description is reasonably easy to understand for anyone who wants to follow such a headband. It's not difficult to knit, but it's not easy to describe.


