Make a bus out of milk carton
For craft fans a great thing. You have to work a little bit and you can not get it fast. But the homemade bus rolls around and is great fun for the kids!
Material:
- 1 liter milk carton or juice carton
- 2 wooden sticks 5 mm thick and 13 cm long
- 4 wooden balls 24 mm thick, with 5 mm hole
- 4 BQ5 discs
- 4 washers with 5 mm hole
- abrasive paper
- pointed thick needle
- Acrylic colors blue and silver
- Paint brush flat
- Cardstock light blue and red
- Craft glue, ruler, felt pen
- Knife and scissors - both very sharp and pointed
This is how it's done:
- First you grind the milk carton around. This is important for coloring.
- Then use the sharp knife to cut off the top part (where the spout sits).
- Then you paint with ruler and felt pen 4 windows and 1 door.
- In the middle of the window (door) with the needle a hole in it.
- Pierce the knife and turn until the hole gets bigger.
- Then you cut with scissors to a corner of the window (door) and from there you carefully cut out the whole window (door).
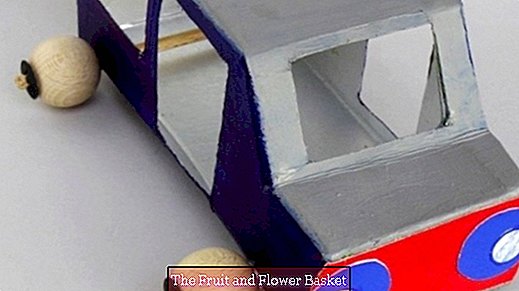
- Now you tinker the front with the driver's window. That is custom work. In the same way as your own bus model should look like: short form, without bonnet or simple shape etc.
- You have to cut the side pieces and bend and then stick together according to the shape.
- At the front and back of the bus you make the holes for the wheels with a thick needle.
- Then the bus is painted and pasted on red paper. On it stick the round cut out panes for the headlights.
- Finally, the wheels are mounted at the front and rear. Place a BQ5 disc on the wooden rod, then attach the wooden ball and washer. Slide the wooden rod through holes on the 2 sides. Put the washer, ball and BQ5 washer on the other end of the wooden rod.
- If both wooden poles are on the wheels, the milk carton bus is ready!


