Origami lampshade DIY ~ DIY
Origami does not just make little boxes, stars or pleats. If you transfer the folding technique from small pleats to larger formats, large paper lampshades are created.
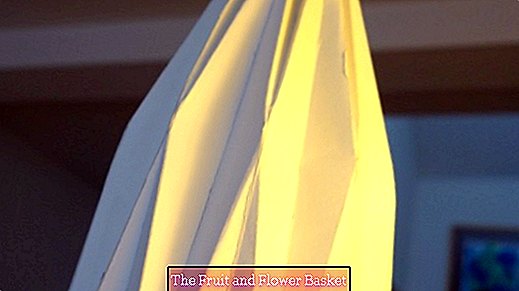
My paper lamp is made of a sheet of photo cardboard measuring 50 x 70 cm. The lamp itself was made of the format 52 x 30 cm. The pattern in the picture is first transferred to the box in pencil. Do not push so hard that the pencil line can be easily erased later. Depending on how wide or narrow the rhombus is chosen, a slightly different shape is created. If the rhombus is long and narrow, the lamp will be correspondingly narrow as in my example. At first I drew straight lines at a distance of 2 cm and then marked the diagonals. The lines are scratched with a thick embroidery needle or a small screwdriver (cross recess) and a ruler. This makes it easier to fold the paper. But please do not push too hard, otherwise the paper gets holes.
First, always fold the straight blue lines in one direction. Always fold from top to bottom. Then turn the paper over and fold the red and then the light blue diagonals in one direction. When everything is folded, one needle is used to punch two holes per rhombus and glue the sides together. Through the holes a band is pulled. Constrict the ends. So the upper part of the lamp is created automatically. The wrinkles must now only be brought into shape. Anyone who has difficulty folding thick cardboard can also use construction paper. Please do not score that.
This is needed:
- White photocard or alternatively white construction paper (dimensions: 52 x 30 cm)
- Folding pattern (see picture)
- ruler
- pencil
- tape
- glue
- Stopfnadel or thick embroidery needle
- Hammer and Nail


