Tinker mini school bag as a unique piece
For our granddaughter, I have a school bag (height arbitrary) made of cardboard individually and designed. In a few experiments I made the first steps out of solid cheap cardboard / paper, until I was satisfied with the size and shape:
- Cut a carton in the form of a circle cutout (pie slice).
- So that the school bag is not round (as usual) but square is to fold the cardboard surface x times (creases must point outwards to the beautiful side). This results in (x + 1) sections, of which the first and last are glued to each other later by means of narrow double-sided adhesive tape (width 8mm). This is important to consider because only one of them will later be available for decorating the outside.
- Attention: The more corners you make, the narrower the "pie" portions of the whole thing become, and it can be difficult for the top of the school bag to stick letters into the narrow segments without them protruding beyond the tricks.
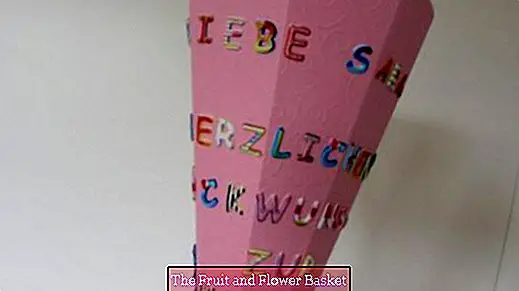
- The exterior of the school bag is in front designed to glue together: So that a touch of individuality is given, I signed by hand and the date of enrollment inserted (pins ... before trying on cardboard residue).
- The text forming letters are in my case slightly raised and self-adhesive. Before the actual sticking I have cut out every required letter including carrier material (!) And in text form on the kinked, but spread out cardboard only placed (not yet glued). At this stage you can still move back and forth and (as in my case!) Add a forgotten letter ... When placing, make sure that in each section between the fold lines the letters are always aligned parallel to the top edge of the respective section, so that the text looks good after the cardboard has been "rolled in" horizontal represents.
- Now, if necessary, put down more drapery items and drape ...
- If all parts are as desired, then - depending on the size of the letters - this with a tweezers Remove from the carrier material and put only with the tweezers only very loosely on the cardboard - you have a good view of the surface and can use the tweezers to position the parts in millimeters.
- Press all parts strongly only after repeated examination!
- Then glue the school bag together to form a square whole.
- Finally glue paper (crepe paper, napkins or transparent non-woven paper ...) from the inside to the upper edge of the school bag. Fill and close with a nice ribbon.
Have fun reworking!


