Make easter eggs with moss
Original sound of my child:? How, you do not want to hide now, right? ? But of course !? Shaping eggs with moss does not just look good, it also provides fun for easter eggs. Finding the one in the garden is a real challenge.
Required material
- Moss or Iceland moss
- bowl
- Water (possibly glycerin)
- newsprint
- craft glue
- scissors
- Paketband
Making moss eggs
As an incentive for the search, there is a big chocolate rabbit in exchange for the found moss-egg. Who does not want to hide the eggs for children, can also use them as table decoration for Easter. The moss eggs can be produced in different ways. In the first variant, we first look for meadows and fields or in the forest for moss. Carefully remove the moss plates from the ground. Back at home, the moss is freed from needles and scrub and the earth is roughly removed. Then soak in a bowl of warm water for an hour so that the coarse dirt is gone. Then spin in the salad spinner, place on newspaper and let dry. If you want to keep the moss-egg for a longer time, you can add some glycerin (mixing ratio 1: 3) to the water, which absorbs into the plant and makes it durable.
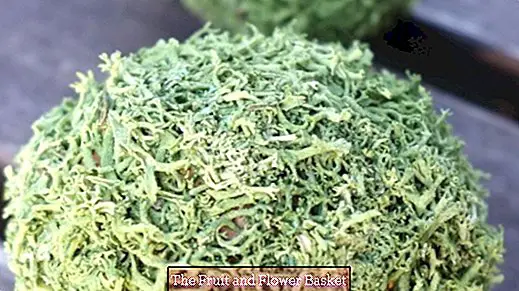
Light green Iceland moss
If you do not feel like collecting moss yourself or would like bright green moss eggs, you can use Iceland moss. This can be bought in craft shops. The lichen can be glued to the egg with craft glue. Since Iceland moss spreads like a sponge, after clinging and drying, the scissors must still be used to cut off the excess moss very short along the eggshell.
Even the self-collected moss is simply stuck to the blown-out egg. It does not stretch quite as Iceland moss and just needs to be re-cut a bit. It is best to press the moss-covered eggs into an egg carton first, then the moss lays firmly around the egg. If you like, you can put a little ribbon around the moss for the look. Well then, happy Easter and have fun with the easter egg hunt!


